Shopfloor Workstations
Drop in - Palletisation
Check that the computer is switched on at both the mains and the computer terminal. Check that the monitor is switched on and any associated printer is connected.
Sign in to the computer if required with the passwords that are assigned to that work station.
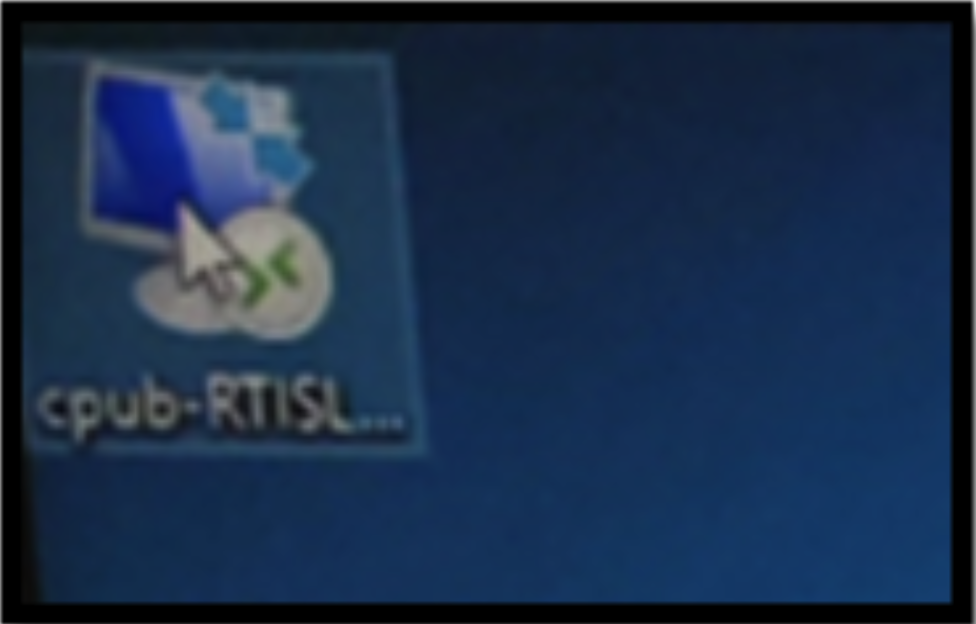
Once you have clicked on the icon, the below pop up may appear.
- If it does click ok and remember me
When the login screen appears enter the password for that work station.
- For example if in Grangemouth use the below. Bradford and Thornaby will have different login details
Credential screen appears
Enter password
Select remember me
Select ok
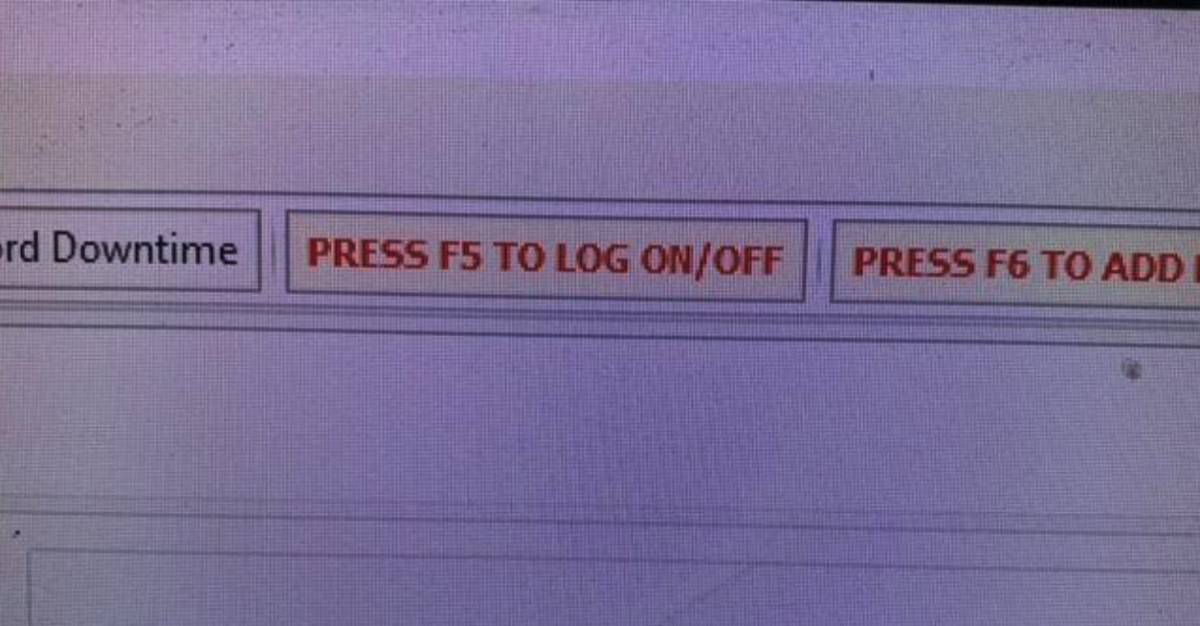
The main screen for the shop floor applications now loads this can take a few seconds
It will now go back to the original page
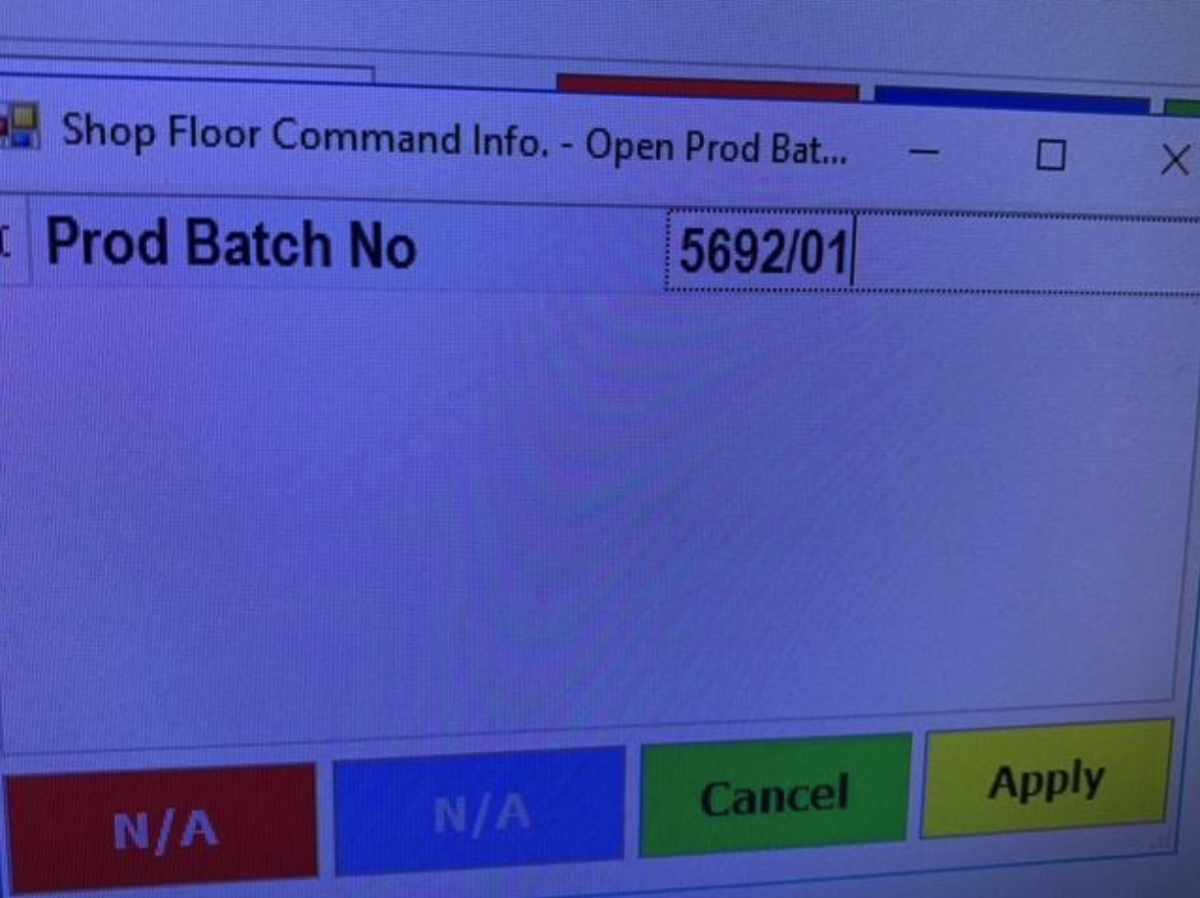
Select apply (F4)
New window opens
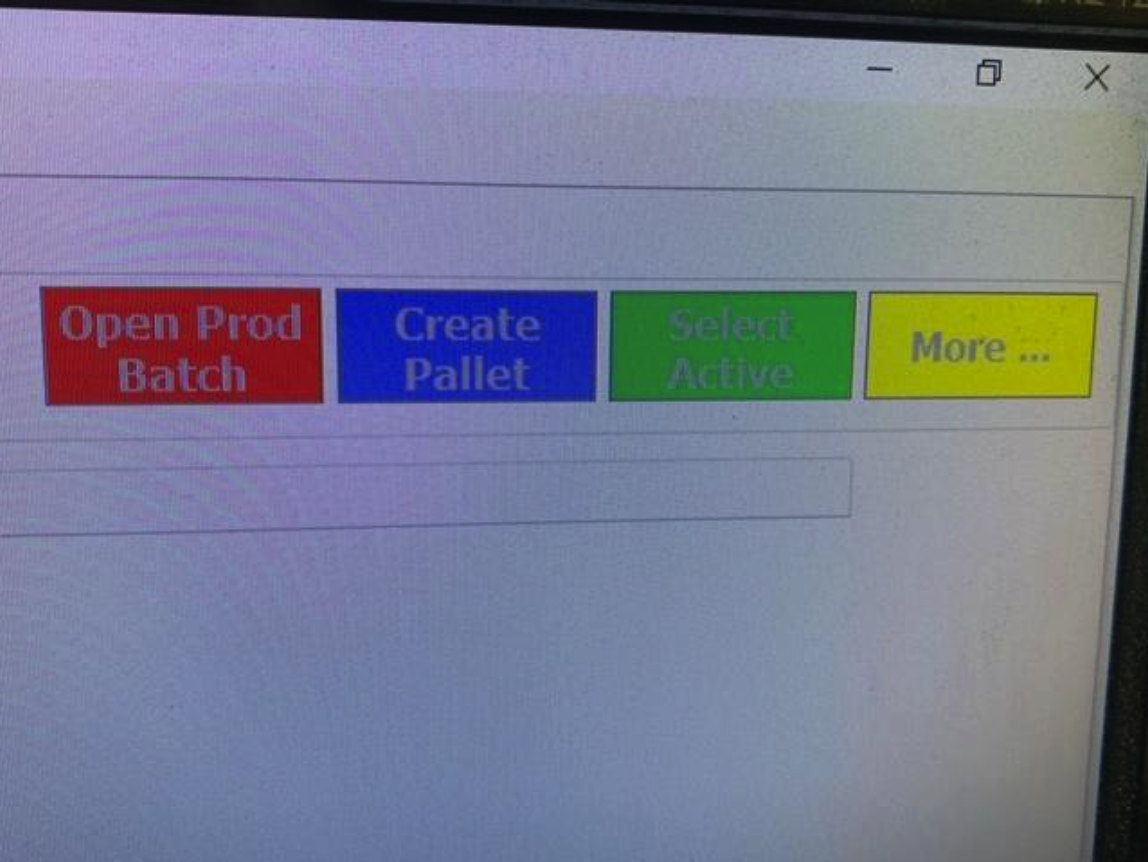
When you select create pallet the icon below appears in the box on the right hand side. This now means that you have a pallet that we can load items onto.
Scan the barcodes on the A3 schedule. There is 2 barcodes one represents the frame while the other is for the door. Each product line on the A3 schedule has a unique barcode.
Once you scan item you want to load onto a pallet from the A3 it moves across from the left hand side of he screen and onto the pallet you have just opened.
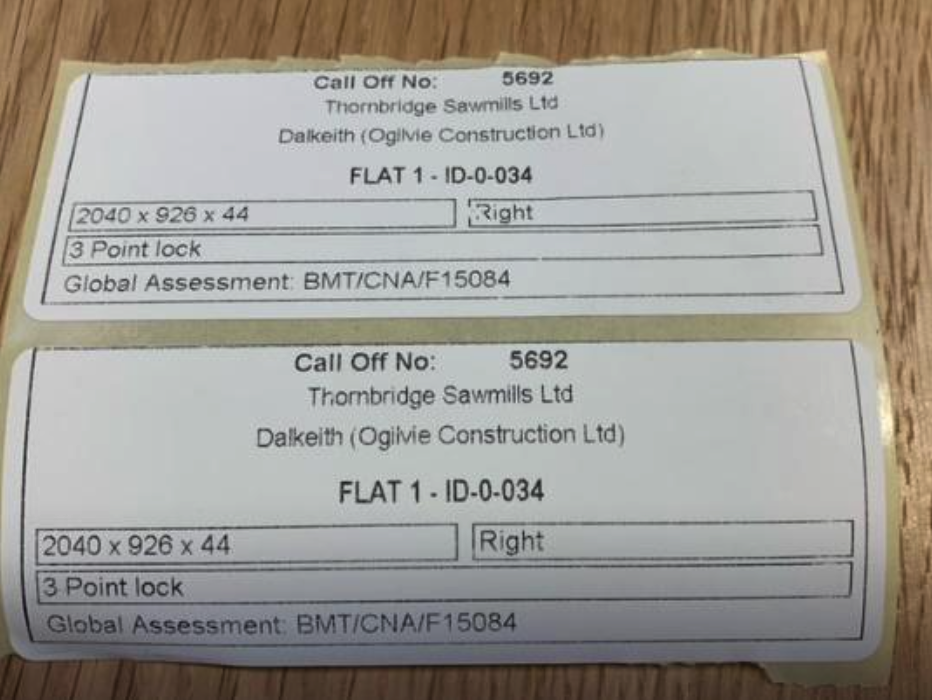
Labels are then automatically printed – these are to be attached to the head of the frame and the top of the door.
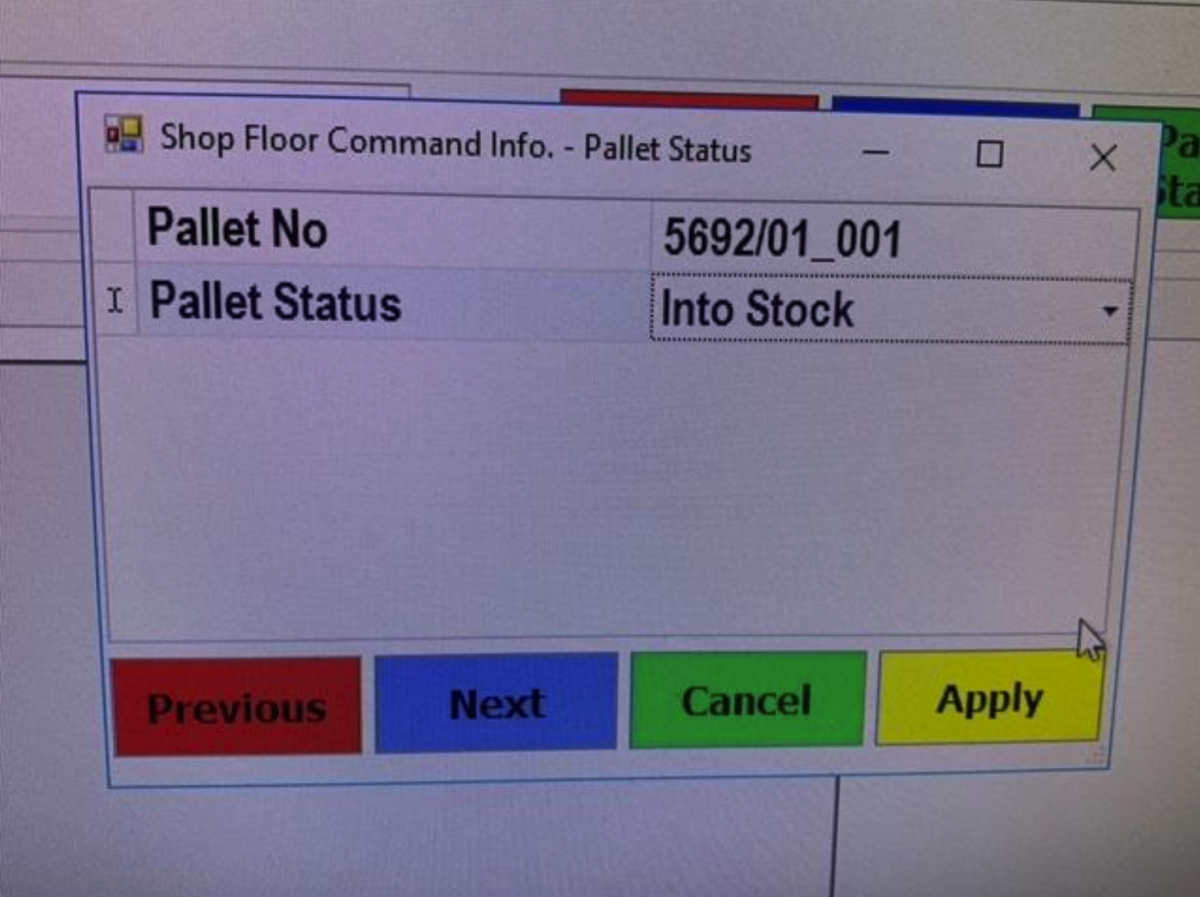
Once all is scanned or you have completed everything that is going to the pallet select Pallet status (F3)
Key notes
- When using the shop floor application of RTIS you use the following keys on the keyboard.
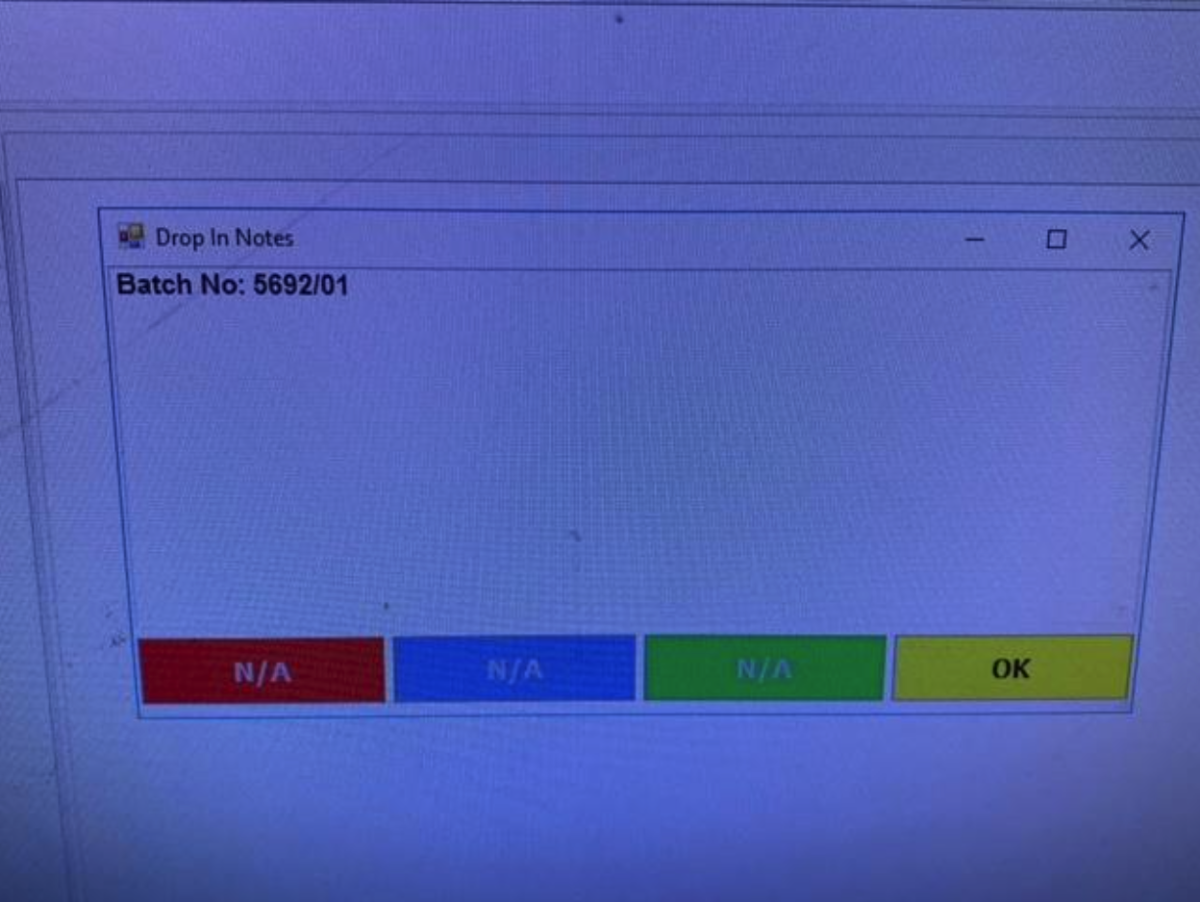
F1 is any box like above that is red
F2 is any box like above that is blue
F3 is any box like above that is green
F4 is any box like above that is yellow - If an item is scanned onto a pallet that is incorrect simply re scan the item and it will let you remove it from the pallet.
